Normally, the papers I write for class don’t require exhaustive research, so I can get by just keeping everything in my all-purpose Word document (or, as my roommate calls it, the “portal of chaos”). This spring, though, I was assigned a final paper that required me to sift through a lot of primary sources, and I was getting tired of scrolling. So, to keep everything organized, I turned to a program that I’d purchased a few years ago: Scrivener (free for the first 30 days of use, or $42 for a lifetime license).
Click on the video below to see how I use Scrivener:
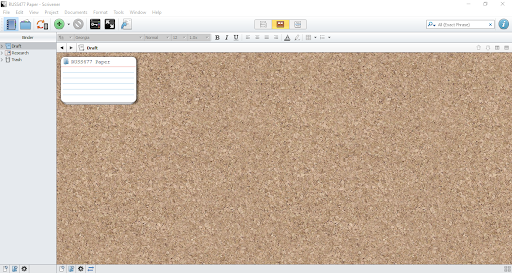
Here’s what Scrivener looks like when I open it up.
The Scrivener default view has all documents visible as index cards on a corkboard.
By default, Scrivener has two main folders: “draft” and “research.” I wasn’t ready to start writing, but I did have some sources in mind, so I put them in the “research” folder. Scrivener accepts a number of different file formats, which meant I could include PDFs and websites along with my notes. All of those are contained in the binder, which is what Scrivener calls its main navigational tool.
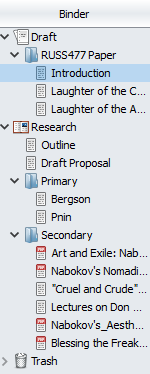
There are two folders, labeled “Draft” and “Research.” “Research” is further divided into “Primary” and “Secondary,” each with more files visible.
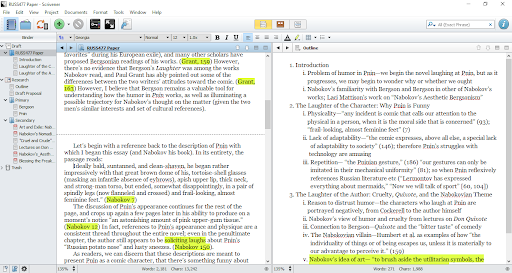
Then, I started making an outline, which is where Scrivener’s split-screen view came in handy. I could keep my outline pulled up while also flipping between different sources. If I were to try to do that without Scrivener, I’d have to open multiple windows, which I find clumsy and potentially distracting. Thanks to Scrivener, I never have to leave the app—shifting what I’m reading is as easy as selecting a window and clicking a new file in the binder.
There are two documents visible side-by-side. On the left is a numbered outline and on the right is a peer-reviewed article.
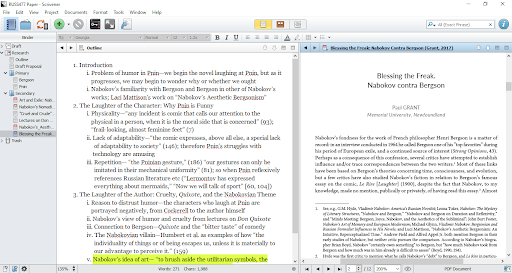
Once I finished my outline, it was time to write. I opened up a new document in the “draft” folder and started typing away. The split-screen view let me write with my outline and draft side by side to stay on track, and I could divide my draft across multiple sections to rearrange them if needed.
There are two documents visible side-by-side. On the left is a draft and on the right is a numbered outline.
Sometimes, though, I’d find myself getting distracted by the siren call of email or furniture restoration videos. In those cases, I’d switch over to the full-screen mode to keep myself focused. In full-screen mode, Scrivener’s text editor appears as a wide stripe over a dimmed desktop.
Thanks to all these tools, I was not only able to get my paper finished but also submitted early (a first for me). And that’s not the end of what Scrivener can do—it has extensive tools related to formatting, metadata, and statistics, and I hear in the next update it’ll make coffee too. Check out Scrivener at literatureandlatte.com.
This blog showcases the perspectives of UNC Chapel Hill community members learning and writing online. If you want to talk to a Writing and Learning Center coach about implementing strategies described in the blog, make an appointment with a writing coach or an academic coach today. Have an idea for a blog post about how you are learning and writing remotely? Contact us here.